How to measure pixels on your Mac screen
UpdatedShort answer
For a quick measurement, press ⇧⌘4: the screenshot crosshair shows the size of the area you drag, and Esc cancels before anything is saved. For a web page, the browser's developer tools show each element's size. On a Retina display, apps and CSS measure in points, and each point is two pixels. For the gap between two things, or to keep a measurement on screen, you need a screen ruler.
The free ways
Free: the screenshot crosshair
- Press ⇧⌘4 (Shift-Command-4). The pointer becomes a crosshair.
- Drag from one edge of the thing you want to measure to the other. The numbers beside the crosshair show the width and height of the area as you drag.
- Press Esc before you let go of the mouse button, and no screenshot is saved.
Free: a browser's developer tools, for web pages
- In Safari, turn on Safari › Settings › Advanced › Show features for web developers. In Chrome, nothing needs turning on.
- Control-click the element and choose Inspect Element (Safari) or Inspect (Chrome).
- Rest the pointer on the element's line in the Elements panel: the page highlights it and shows its width and height in CSS pixels.
Free: Digital Color Meter, for colors
- Open Applications › Utilities › Digital Color Meter.
- Point at a color on screen: the window shows its values as you move, in the color space you pick from its menu.
Where the free ways stop
- The crosshair measures the area you drag, so you have to hit both edges exactly by hand, and the numbers are gone once you let go.
- It doesn't find edges, and it can't show the gap between two things.
- Developer tools work only on web pages in the browser, not in other apps or on a design.
- None of them keeps several measurements on screen to compare, or copies a size as CSS.
How Pixel Caliper does it
Pixel Caliper is a Mac app we make: screen ruler & edge snapping for your menu bar.
- Press ⌃⇧R for a ruler that follows the pointer (free); double-click it to turn it vertical.
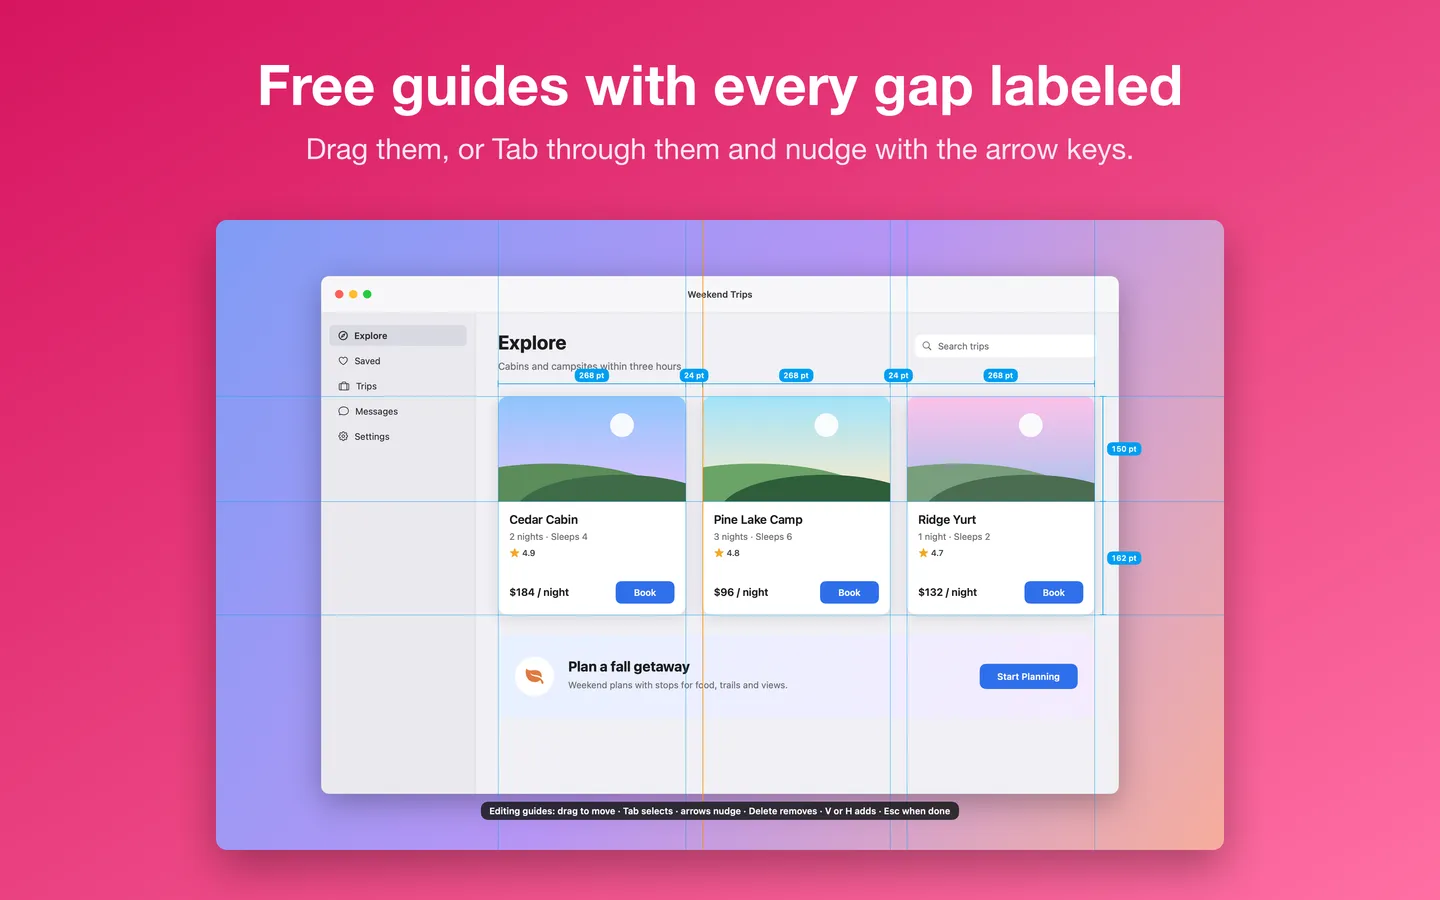
- Press ⌃⇧V or ⌃⇧H to add vertical or horizontal guides; the gaps between guides are labeled (free).
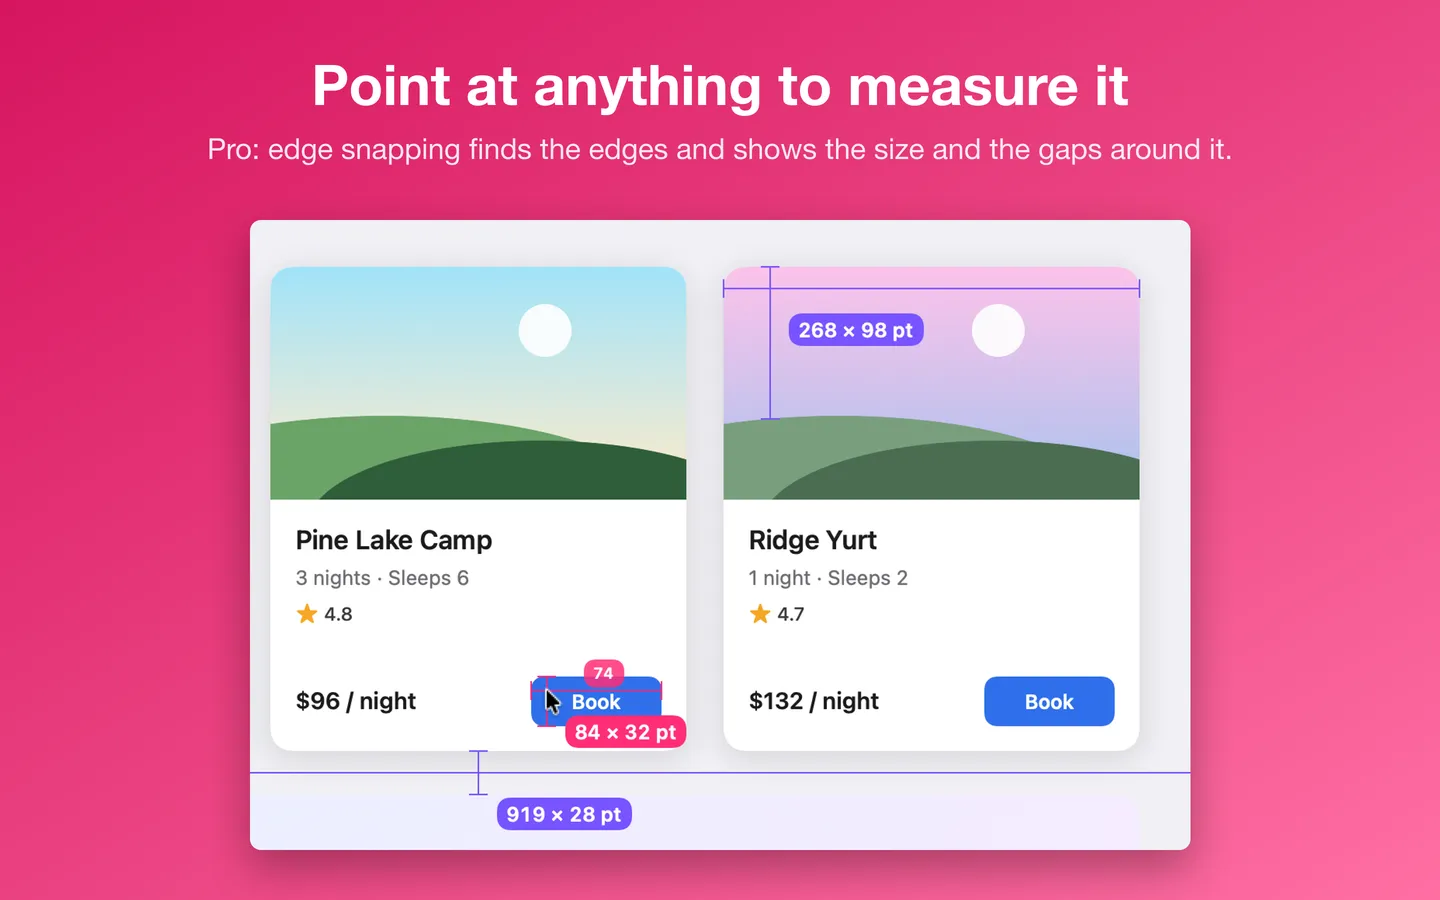
- With Pro, edge snapping finds the edges around the pointer and shows the distances in four directions plus width and height. It needs Screen Recording permission and reads only one row and one column of pixels through the pointer.
- Pro also keeps several measurements on screen, copies sizes as text, CSS or SwiftUI, and has a loupe that copies colors as hex, RGB, SwiftUI or NSColor.
Free to use without a key: the ruler that follows the pointer, guides with the gaps between them, and points or pixels.
$8.99 one-time for Pro, no subscription. Buy a license key to unlock Pro: edge snapping, the loupe, several measurements on screen and copying sizes as text, CSS or SwiftUI.
macOS 14 Sonoma or later. Apple silicon and Intel.
Questions
Points or pixels: which do I need?
Points are what apps and CSS use; on a Retina display each point is two pixels. Pixel Caliper switches between them with ⌃⇧U, and copied CSS and SwiftUI always use points.
Does measuring with ⇧⌘4 save a screenshot?
Only if you let go of the mouse button. Press Esc while you're still dragging and nothing is saved.
Why does edge snapping need Screen Recording?
To find edges, Pixel Caliper has to read the pixels under the pointer, and macOS allows that only with Screen Recording permission. It reads one thin row and one thin column through the pointer, in memory, and never records, saves or sends them. The ruler and guides work without it.
What can I do without buying it?
The ruler that follows the pointer, guides with the gaps between them, and points or pixels. Pro adds edge snapping, the loupe, several measurements on screen and copying sizes as text, CSS or SwiftUI.